
How to Do Keratin Treatment at Home Safely
Introduction
Ever dreamed of achieving that silky, frizz-free salon look without the hefty price tag? You’re not alone. The quest for smooth, manageable hair has many of us exploring keratin treatment at home options that deliver professional results.
With luxury hair treatments at salons costing upwards of $300-$500, learning to safely perform these treatments yourself isn’t just empowering—it’s economical. The right technique and premium products can transform your hair from frizzy to fabulous, all from the comfort of your bathroom.
Table of Contents
Must-Have Products & Tools
Creating salon-worthy results requires investing in quality products:
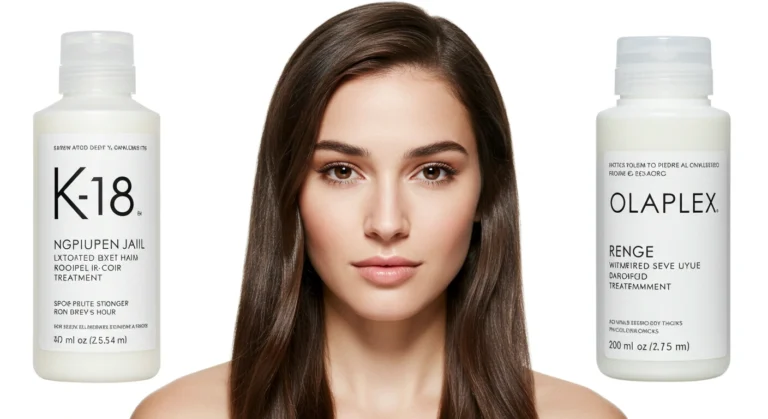
- Clarifying Shampoo – Removes buildup and opens the hair cuticle (Luxury: Oribe The Cleanse Clarifying Shampoo; Budget: Neutrogena Anti-Residue Shampoo)
- keratin shampoo, keratin treatment kit – Look for formaldehyde-free options containing hydrolyzed keratin (Luxury: Brazillian Blowout Original Solution; Budget: Keratin Research Complex Treatment)
- Heat Tools – Professional-grade flat iron that reaches 450°F (Luxury: GHD Platinum+; Budget: BaBylissPRO Nano Titanium)
- Application Tools – Fine-tooth comb and sectioning clips (Luxury: Mason Pearson; Budget: Conair Pro)
- Heat Protectant – Prevents damage during the high-heat sealing process (Luxury: Kérastase Resistance Ciment Thermique; Budget: CHI 44 Iron Guard)
Each product plays a crucial role—the clarifying shampoo creates the clean canvas, while the keratin formula rebuilds and strengthens hair structure, and proper heat tools seal the treatment effectively.
Step-by-Step Routine or Method

Follow these precise steps for salon-quality results:
Pre-Treatment Preparation
- Wash hair twice with clarifying shampoo
- Towel-dry until hair is 80% dry
- Pro Tip: Avoid conditioner which can block keratin absorption
Section & Apply
- Divide hair into 4-6 manageable sections
- Apply keratin treatment starting ½ inch from scalp to ends
- Pro Tip: Use the “less is more” approach—excess product creates sticky residue
Processing Time
- Allow treatment to penetrate for 30-40 minutes
- Pro Tip: Cover with a shower cap and apply gentle heat with a blow dryer for deeper penetration
Blow Dry
- Dry hair completely using medium heat
- Use a round brush for tension and smoothness
- Pro Tip: Direction matters—aim nozzle downward along the hair shaft to smooth cuticles
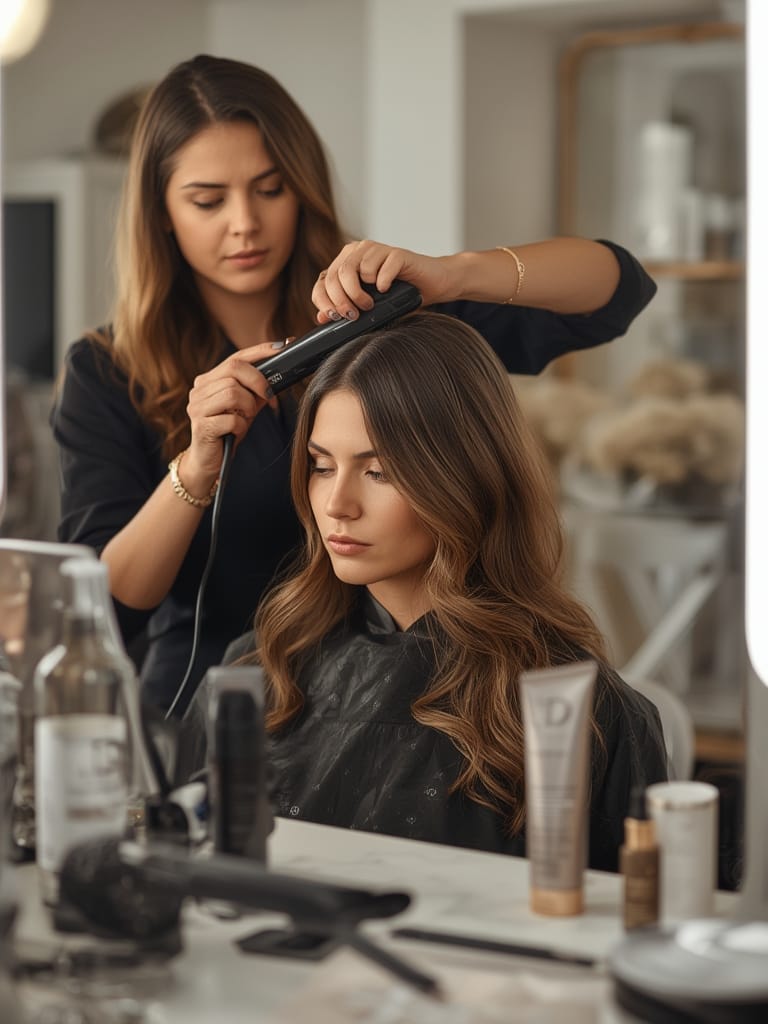
Flat Iron Sealing
- Work in small ¼-inch sections
- Pass iron slowly 7-8 times per section at 450°F
- Pro Tip: The sizzling sound is normal—it’s the keratin bonding to your hair
Key Benefits or Results
Properly executed home keratin treatments deliver transformative benefits:
- Reduced Frizz by Up to 95% – Even in high humidity environments
- 60-70% Less Styling Time – Most users report cutting morning routines in half
- 3-5 Months of Results – Depending on hair type and maintenance routine
- Progressive Improvement – Each treatment enhances hair structure, with studies showing 40% increased strength after three treatments
- Heat Damage Protection – Keratin creates a protective barrier against daily styling tools
Professional Tips & Alternatives
Customize your approach based on your hair specifics:
For Curly Hair: Choose a formulation with lower formaldehyde-alternatives for curl reduction without complete straightening
For Fine Hair: Dilute the keratin solution with water (3:1 ratio) or opt for a volumizing keratin treatment
For Color-Treated Hair: Wait 14 days post-coloring before treatment, and use color-safe keratin formulas
Seasonal Adjustments: In summer, choose stronger formulas to combat humidity; in winter, select more moisturizing versions to prevent dryness
Natural Alternative: Try DIY coconut milk and egg protein treatments for a gentle keratin-like effect without chemicals
Common Mistakes to Avoid
Steer clear of these frequent errors:
- Over-applying Product – Causes stiffness and residue—use only 1-2 oz for shoulder-length hair
- Insufficient Heat – Temperatures below 430°F won’t properly seal the treatment
- Washing Too Soon – Wait a full 72 hours before getting hair wet—even humidity exposure can compromise results
- Skipping Sections – Missing areas creates inconsistent results—use a methodical approach
- Using Metal Combs – Can react with keratin chemicals—stick with plastic or carbon combs
Maintenance & Aftercare
Extend your treatment’s lifespan with proper care:
- Use sulfate-free shampoos exclusively—sulfates strip the keratin bond
- Apply weekly keratin-infused deep conditioners to reinforce the treatment
- Sleep on silk pillowcases to prevent friction damage
- Avoid chlorinated pools or use a swim cap
- Reapply keratin products with each wash for continuous protection
- Store any unused treatment in a cool, dark place to preserve chemical stability
Conclusion
With the right products and technique, achieving salon-worthy keratin results at home is not only possible but can become part of your luxury hair routine. Remember that patience and precision deliver the best results—rushing any step can compromise the final outcome. Embrace this premium self-care ritual and enjoy months of frizz-free, manageable, and lustrous hair that reflects your commitment to beauty excellence.
FAQs
- How often can I safely perform keratin treatments at home?
Most experts recommend treatments every 3-5 months, depending on hair growth and texture. More frequent applications can cause protein overload and brittleness. - Can I color my hair after a keratin treatment?
Wait 2 weeks after treatment before coloring to allow the keratin to fully bond. The treatment creates a protective layer that may interfere with color penetration if done sooner. - Are keratin treatments safe for pregnant women?
Most dermatologists recommend avoiding keratin treatments during pregnancy due to potential chemical exposure. Opt for formaldehyde-free, gentle protein treatments instead. - Will a keratin treatment make my hair completely straight?
Results vary by hair type and formula strength. Typically, treatments reduce volume by 60-80% while maintaining some natural movement rather than creating pin-straight hair. - Can I use regular shampoo after the 72-hour waiting period?
No—regular shampoos contain sulfates that will rapidly remove your treatment. Invest in sodium chloride-free and sulfate-free formulas to maintain results for months.